Stellar Armada: building the game boards
| John Kemp |
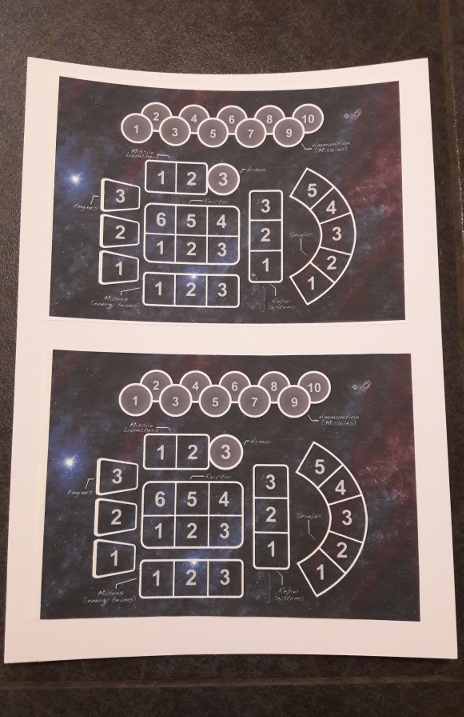
As I mentioned in my previous Stellar Armada article I was sent a preview copy of the print-and-play files for the game, which necessitated building my own boards and sourcing my own markers. I’m going to give a quick rundown of how I did this in case any of you want to take a similar route, as several of the backing options include access to those files. The same technique should also apply to other print-and-play games. This is going to be very quick and straightforward because I’m not a crafts person myself, though according to Jerason Banes, the game’s creator, the final print-and-play files will have instructions for alternative methods so look out for those as well.
The first step is to print out the boards. The quality of mine wasn’t as good as it could have been because I have an inkjet printer, which isn’t great at the sort of detail required for these boards. A laser printer should give better results. I printed on to reasonable quality 100 gsm paper, which should be roughly equivalent to your typical printer paper. To make playing a little easier for me and Jupiter while we learned the ropes I scaled up the boards before printing so that two of them used up the majority of an A4 sheet of paper. This is rather larger than the “official” board size and had the unintended side effect of 5p coins being the perfect size for markers. Once the boards are printed you need to cut them out. It’s a good idea to leave a border around the edge because the next step won’t be exact and this allows you to get a more consistent finish.

Next, mount the boards onto card. I used 300 gsm card, which is reasonably sturdy and should roughly match the boards that backers will receive in terms of weight. The game’s creator, however, suggests that corrugated cardboard would provide much better stiffness. In terms of mounting the printout onto the card spray mount is an option, but I’ve always found Pritt Stick to be less messy (other stick glue brands are available). Cover the back of the boards in glue and fix them to the card. Once you’ve smoothed them out and stuck them firmly in place it’s a good idea to leave them under something flat and heavy while the glue dries. Watch out for excess glue though—you don’t want the paper to be damaged or ripped off when you remove the weight.
Once the glue is dry you can cut the boards out using scissors. This is where the extra border you left earlier comes in handy because i) it’s tricky to get the glue consistently right up to the edges of the original paper cutouts and ii) it’s also tricky to cut the card perfectly in line with your previous cuts on the paper. The border makes it much more likely that the edges will be properly glued in place and also that you get an edge that lines up on both layers.
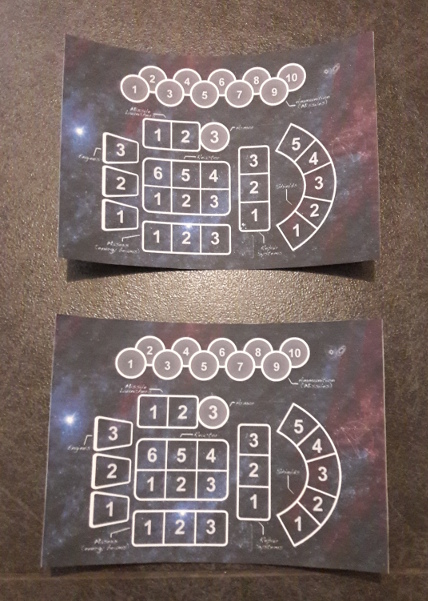
After the boards are cut out it’s a good idea to leave them under or sandwiched between heavy flat objects for a while again. It can be quite difficult to prevent something like this from curling up, but doing this will at least help minimise it.
That’s it, I hope this helps and that you have fun blasting each other’s ships.

I am a software developer by day and dip into a range of related activities in my spare time, including working on my own software projects, writing, proof-reading, and, of course, gaming of both the digital and boardgame varieties. I am slowly starting to sink my teeth into game development.